This is an example of how to make an alarm clock-like Nixie-tube clock, Part 1.

Preparation before soldering
Removing Rust from Nixie Tubes

The Nixie tubes were made in the 1980s. Depending on the object, the base may be rusty. If there is more than 4 mm of this rust, there is a chance that the solder will not stick to this area and there will be poor contact, so use the blade of the cutter to scrape off the rusty area.

As long as it's copper-colored, you're good to go.
Varying the length of the nixie tube lead

The Nixie tube has 13 leads (legs). It is difficult to insert all the pins into the board as it is, so cut the leads to make it easier to insert them.

If you turn the nixie tube over, you will see one pin, a white pin in the glass tube. This pin is the key reference pin. Cut this pin the longest.

Then cut the pins on the front side so that the length of the lead is slightly shorter than the pins on the back side.
By doing this, the pins on the front face will have shorter leads, starting with the reference pin on the back, in order.
Soldering
How to insert the nixie tube lead

Soldering from N1 components. Insert the longest lead of the Nixie tube into the hole in the square pad marked N1.

Insert the lead into the hole in the order of long lead to short lead.

By inserting the pins in the order of the longest lead, you can insert them in the right order without making a mistake.
How to stand a nixie tube vertically

Insert the Nixie tube into the board as shown in the picture above, floating about 1mm above the PCB.

First, solder only the square pads.

Use a triangular ruler to make the PCB and the nixie tube perpendicular to each other and adjust the orientation of the nixie tube.

Solder the pins on the diagonal side of the already soldered square pad, that is, the front side of the nixie tube.
The front and back directions are now perpendicular to the PCB.

Then make the left and right directions perpendicular to each other. Place a triangular ruler or something similar on the left side of the nixie tube to make the left and right sides of the tube perpendicular.

Solder the right end pad.

Make sure the nixie tube is standing perpendicularly in the anterior and posterior and lateral directions. If the nixie tube is tilted, you should fix it now.

Solder all the pins.

The first Nixie tube is completed by cutting the soldered leads with a nipper.
Two to four

As before, solder the square pins first, making sure they are perpendicular to the front and back directions, and then solder the front pins. Adjust the inclination of the Nixie tube so that the left and right sides are perpendicular, and solder the right end.

Solder all the pins after carefully checking that the Nixie tube is upright, as is the adjacent Nixie tube.

Repeat the same process to solder the four Nixie tubes.
Attach the pin header

Place the L-shaped pin header on the underside of the PCB as shown in the picture above and insert the bent lead into the hole in the PCB.

First, solder only one pin at the end.

Viewed from the side, the PCB and the leads should be parallel to each other. Once they are parallel, solder all the pins together.
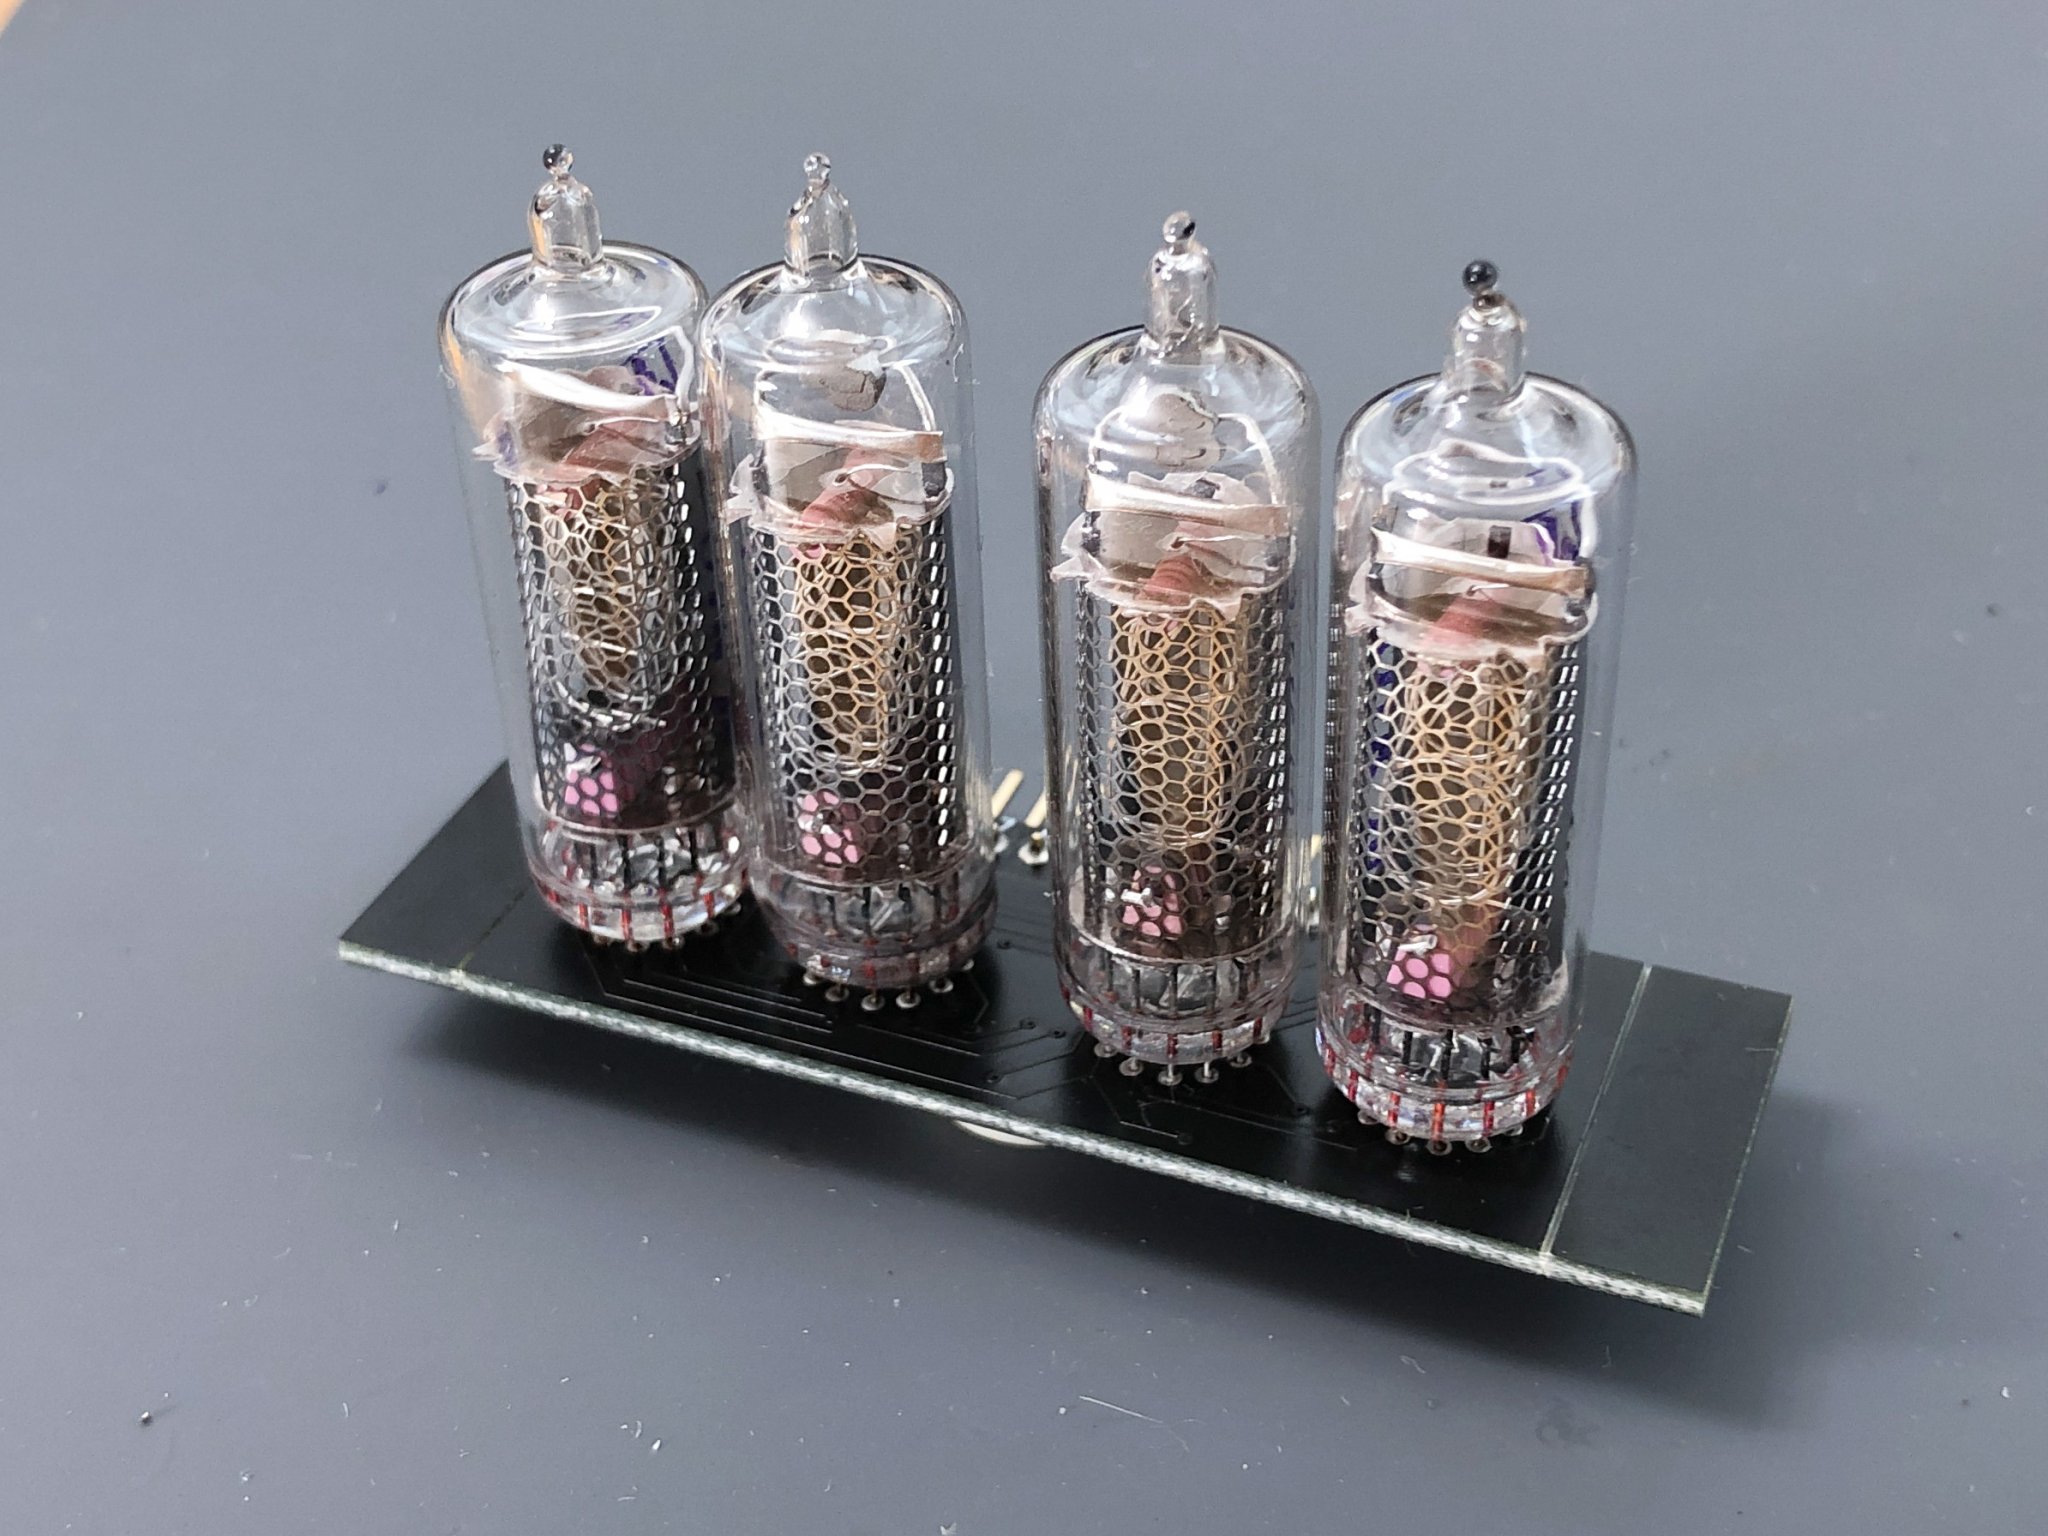
Nixie board is complete

This completes the Nixie board.
Then,202009151008.Go to the main board soldering and assembly section.
Making Nixie Tube Clocks Like an Alarm Clock Table of Contents
1. Soldering of Nixie Tube Boards (this page)
2. Soldering and Assembly of Main Board
3. Modification of an alarm clock
4. WiFi Settings

コメント