Since the surface-mounted components of the main board have already been mounted, only the DIP-style components are mounted. Then it is painted and the boards are assembled together.

Needed Tools
・Soldering iron
・solder
●Nippers

●A USB charger A USB charger (available at 100 yen shops)
●Black frosted spray (not necessary)

●Masking tape (not necessary)

Soldering parts
Photo coupler

It is mounted in four locations from U3 to U6. Mount the photocoupler in the direction that the pin with the ● pattern at the upper left of the photocoupler will be inserted into the square pad on the PCB.
Microcontroller board

Mount it with the USB connector facing down. The pins of the microcontroller board may be slightly bent, so correct them accordingly before inserting them into the board.
Pin sockets

Turn the main board over and mount the pin socket. There is no orientation. Take care not to tilt it and solder it carefully.
Soldering complete

This completes the soldering of the main board.
Painting
You don't have to do this process, but painting it with a matte black color makes the soldered areas and the edges of the board black, which makes it look nicer. It is recommended that you paint it if possible. In the case of the finished product, it has been painted.
Masking
Main Board

Mask the holes in the pin sockets on the main board to prevent the paint from getting into them.
Nixie board

Mask the pin headers to avoid getting paint on them.

Mask the nixie pipes so that the paint doesn't get on them as well.
Painting

Paint the masked side of the main board and the edge of the board on the front of the Nixie board.
Start spraying from the right side of the main board and spray at a steady rate to the end of the left side of the Nixie board. Now go back to the right, spraying at a constant speed. Spray about two back and forth with a pendulum-like motion of about one second each way.

Let it dry according to the drying time listed on the spray can and you're done painting. The edges of the main board and the Nixie board are now frosted black and look chic.
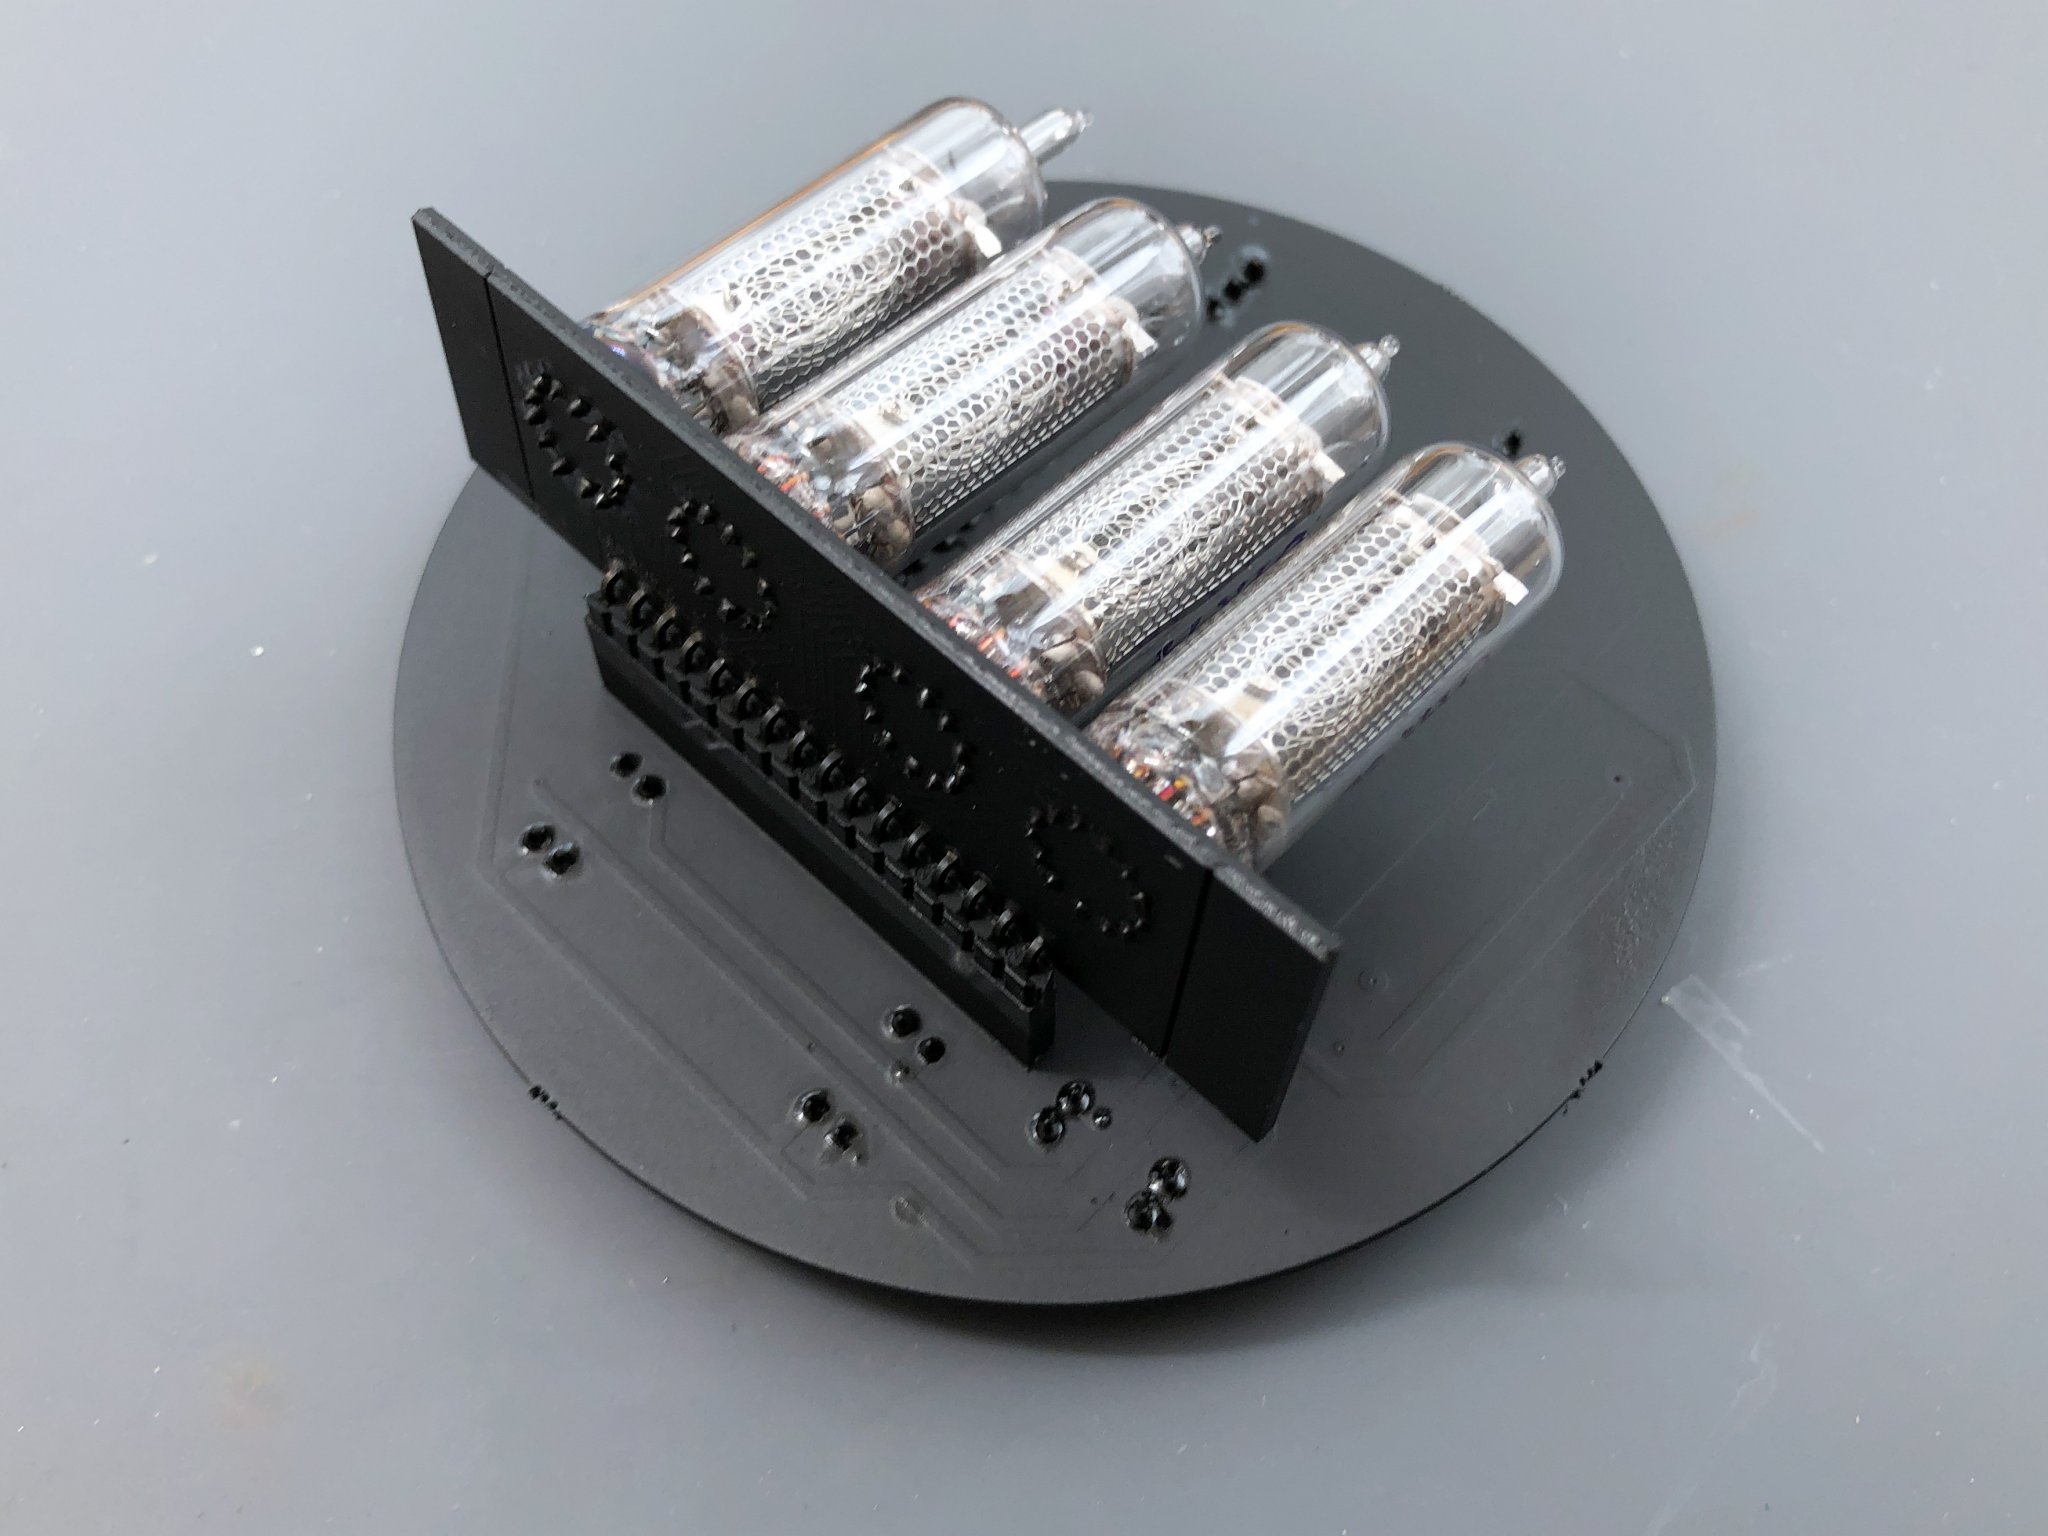
Completed assembly of the PCB

If you insert the Nixie board into the main board, the assembly of the board is complete.
Operation check

Connect the USB cable to the USB connector on the main board. Connect the USB cable to your USB adapter to supply electricity.

If the "000" is on and the light on the dot runs from left to right, it is normal.
If it doesn't light up, the photo coupler may be facing the wrong way. Also, try re-soldering, as it could be a bad solder.

If you leave it near a window for about 15 to 30 minutes, the current time will be displayed.
If there are any numbers that do not appear, re-solder the Nixie tubes, pin headers and pin sockets. Then,Go to the alarm clock modification section.
Making Nixie Tube Clocks Like an Alarm Clock Table of Contents
1. Soldering of Nixie-Tube Board
2. Soldering and Assembly of Main Board (this page)
3. Modification of an alarm clock
4. WiFi Settings


コメント