MH-Z19の結果をambientに送信
先日作った、MH-Z19の測定プログラムにambientへ定期的に送信するプログラムを追加しました。内容は前回SPG30で作ったプログラムとほとんど同じです。
#include <M5StickC.h>

//ネットワーク関係
#include <WiFi.h>
#include <HTTPClient.h>
#include <WiFiClientSecure.h>
const char* WifiSSID = "SSID";
const char* WifiPassword = "PASSWORD";

//日時
RTC_TimeTypeDef RTC_TimeStruct;
RTC_DateTypeDef RTC_DateStruct;
const long JST = 3600*9;  //Japan Standard Time GMT+9
struct tm timeInfo;//時刻を格納するオブジェクト
String nowTimeString; //現在時刻のString
unsigned long nowTimeUNIX; //現在時刻のUNIXTime

//Ambient
#include "Ambient.h"
const unsigned int WriteChannelId = XXXXXX; // 送信用AmbientのチャネルID
const char* writeKey = "ライトキー"; // ライトキー
WiFiClient wifiClient;
Ambient ambient;
const int sendTimeMin = 1; //送信するタイミング[分] 1=1分毎に送信
bool ambientSendOk;  //Ambientへデータが送信できた

//MHZ19センサ用
unsigned long getDataTimer = 0; //時間保持用
const unsigned long getDataPeriod = 1000; //測定周期[ms]
int CO2 = 400;
int temperature = 20;

//画面の明るさ
bool lcdOn = false;

void setup() {
  M5.begin();
  M5.Lcd.fillScreen(BLACK);
  M5.Lcd.setRotation(0);

  //MH-Z19用シリアル
  Serial1.begin(9600, SERIAL_8N1, 0, 26);

  //デバッグ用シリアル
  Serial.begin(115200);
  Serial.println("MH-Z19 test");

  //測定レンジ変更
  setDetectionDange(5000);

  //アクセスポイントに接続
  if( connectToAp() == false )
  {
    //アクセスポイントに接続できなかったらリスタート
    Serial.println("Can't connect. Restert.");
    ESP.restart();
  }

  //RTCをNTPサーバの時間せ設定する
  setRTC();
  getRTCTime();

  //Ambient初期化
  ambient.begin(WriteChannelId, writeKey, &wifiClient); // チャネルIDとライトキーを指定してAmbientの初期化

  M5.Lcd.fillScreen(BLACK);
}

void loop() {
  M5.update();

  //Aボタンを押すと、画面の明るさをON,OFFする
  if( M5.BtnA.pressedFor(1) ){
    if( lcdOn == true )
    {
      lcdOn = false;
      M5.Axp.ScreenBreath( 0 );
    }
    else
    {
      lcdOn = true;
      M5.Axp.ScreenBreath( 15 );
    }
  }

  //Bボタンを押すと、キャリブレーション
  if( M5.BtnB.pressedFor(1000) ){
    setZeropoint();
    Serial.println(" calibrated");
    delay( 4000 );
  }

  //測定
  if( getGasConcentration( &CO2 , &temperature ) )
  {
    Serial.println("CO2[ppm]: " + String(CO2) + "\tTemperature['C]: " + String(temperature));
  }

  //測定結果の表示
  int yLocation = 0;
  M5.Lcd.setCursor(0, yLocation, 2);
  M5.Lcd.println("CO2"); yLocation+=16;
  String str = "      " + (String)CO2;
  M5.Lcd.drawRightString(str, M5.Lcd.width(), yLocation,4); yLocation+=24;
  M5.Lcd.drawRightString("[ppm] ", M5.Lcd.width(), yLocation,2); yLocation+=16;

  yLocation+=8;
  M5.Lcd.setCursor(0, yLocation , 2);
  M5.Lcd.println("Temperature"); yLocation+=16;
  str = "      " + (String)(temperature);
  M5.Lcd.drawRightString(str, M5.Lcd.width(), yLocation,4); yLocation+=24;
  M5.Lcd.drawRightString("['C] ", M5.Lcd.width(), yLocation,2); yLocation+=16;

  //指定時間ごとに実行
  M5.Rtc.GetTime(&RTC_TimeStruct);
  if( ( RTC_TimeStruct.Minutes % sendTimeMin ) == 0 && (RTC_TimeStruct.Seconds == 5  ) )
  {

    //Ambientへデータを送信
    ambient.set(3, CO2);
    ambientSendOk = ambient.send();
    if( ambientSendOk == false )
        Serial.println("ambient send failed.");
  }

  delay(1000);

}

/*--- ネットワーク時刻用 ---*/
//アクセスポイントに接続
bool connectToAp()
{
  Serial.print("Try to connect to AP:");
  Serial.println(WifiSSID);

  //10回接続を試みる
  for( int i=0 ; i<10 ; i++ )
  {
    M5.Lcd.printf("Connect\n" );
    M5.Lcd.printf(" %s\n",WifiSSID);
    Serial.print("Try");
    Serial.print(i+1);

    WiFi.mode(WIFI_STA);
    WiFi.disconnect();
    WiFi.begin(WifiSSID, WifiPassword);  //  Wi-Fi APに接続

    for( int j=0 ; j<300 ; j++ )
    {
      if( j%10 == 0)
      {
      M5.Lcd.print("*");
      Serial.print("*");
      }
      delay(100);
      if(WiFi.status() == WL_CONNECTED)
        break;
    }

    if(WiFi.status() == WL_CONNECTED)
      break;

    delay(5000);  //5秒待ってから再接続
  }

  Serial.print("WiFi connected\r\nIP address: ");
  Serial.println(WiFi.localIP());
  return (WiFi.status() == WL_CONNECTED);
}

//UNIXTimeをRTCにセットする
void setRTC()
{
  configTime(JST, 0, "ntp.nict.jp", "time.google.com", "ntp.jst.mfeed.ad.jp");//NTPの設定
  getLocalTime(&timeInfo);//tmオブジェクトのtimeInfoに現在時刻を入れ込む

  char s[30];//文字格納用
  sprintf(s, " %04d/%02d/%02d %02d:%02d:%02d %01%",
          timeInfo.tm_year + 1900, timeInfo.tm_mon + 1, timeInfo.tm_mday,
          timeInfo.tm_hour, timeInfo.tm_min, timeInfo.tm_sec, timeInfo.tm_wday);//人間が読める形式に変換
  Serial.println(s);//時間をシリアルモニタへ出力
  Serial.println(mktime( &timeInfo ));

  //RTCに日時をセット
  RTC_TimeStruct.Hours   = timeInfo.tm_hour;
  RTC_TimeStruct.Minutes = timeInfo.tm_min;
  RTC_TimeStruct.Seconds = timeInfo.tm_sec;
  M5.Rtc.SetTime(&RTC_TimeStruct);
  RTC_DateStruct.WeekDay = timeInfo.tm_wday;
  RTC_DateStruct.Month = timeInfo.tm_mon + 1;
  RTC_DateStruct.Date = timeInfo.tm_mday;
  RTC_DateStruct.Year = timeInfo.tm_year + 1900;
  M5.Rtc.SetData(&RTC_DateStruct);

  return;
}

//現在時刻のStringとUNIXTimeを設定する
void getRTCTime()
{
  M5.Rtc.GetTime(&RTC_TimeStruct);
  M5.Rtc.GetData(&RTC_DateStruct);

  //Stringを生成
  char s[30]="";
  sprintf(s, "%04d/%02d/%02d-%02d:%02d:%02d",
          RTC_DateStruct.Year, RTC_DateStruct.Month, RTC_DateStruct.Date,
          RTC_TimeStruct.Hours, RTC_TimeStruct.Minutes, RTC_TimeStruct.Seconds);
  nowTimeString = s;

  //UNIXTimeを生成
  struct tm tmp;
  tmp.tm_year = RTC_DateStruct.Year -1900;
  tmp.tm_mon= RTC_DateStruct.Month -1;
  tmp.tm_mday = RTC_DateStruct.Date;
  tmp.tm_hour = RTC_TimeStruct.Hours;
  tmp.tm_min = RTC_TimeStruct.Minutes;
  tmp.tm_sec = RTC_TimeStruct.Seconds;
  nowTimeUNIX = mktime( &tmp );
  //Serial.println(nowTimeUNIX);

  return;
}


/*--- MH-Z19用 ---*/
#define MHZ19_DATA_LEN 9

//CO2,温度を取得する
bool getGasConcentration(int *CO2 , int *temperature )
{
  byte command[MHZ19_DATA_LEN] = {0xff,0x01,0x86,0x00,0x00,0x00,0x00,0x00,0x79};
  sendCommand( command , sizeof(command) );

  byte response[MHZ19_DATA_LEN];
  recieveResponse( response );


  //コマンドチェック
  if( response[1] != 0x86 )
  {
    Serial.printf("Response Error '%x'\n",response[1]);
    return false; //timeOut
  }

  int CO2Temp = (int)response[2] * 256 + (int)response[3];
  int temperatureTemp = (int)response[4] -40;

  *CO2 = CO2Temp;
  *temperature = temperatureTemp;

  return true;
}

//ゼロポイントキャリブレーション
bool setZeropoint()
{
  byte command[9] = {0xff,0x01,0x87,0x00,0x00,0x00,0x00,0x00,0x78};
  sendCommand( command , sizeof(command) );

  byte response[MHZ19_DATA_LEN];
  recieveResponse( response );

  //コマンドチェック
  if( response[1] != 0x87 )
  {
    Serial.printf("Response Error '%x'\n",response[1]);
    Serial.printf("reaponse %x %x %x %x %x %x %x %x %x\n", response[0], response[1], response[2], response[3], response[4], response[5], response[6], response[7], response[8]);
    return false; //timeOut
  }

  return true;

}

//測定レンジ変更
bool setDetectionDange(int range)
{
  if( range != 2000 && range != 5000 )
  {
     Serial.printf("invalid range. Please set 2000 or 5000 \n");
     return false;
  }

  byte command[9] = {0xff,0x01,0x99,0x00,0x00,0x00,0x00,0x00,0x00};
  command[3] = (byte)(range/256);
  command[4] = (byte)(range%256);
  command[8] = calcCheckSum(command);

  sendCommand( command , sizeof(command) );

  byte response[MHZ19_DATA_LEN];
  recieveResponse( response );

  //コマンドチェック
  if( response[1] != 0x99 )
  {
    Serial.printf("Response Error '%x'\n",response[1]);
    Serial.printf("reaponse %x %x %x %x %x %x %x %x %x\n", response[0], response[1], response[2], response[3], response[4], response[5], response[6], response[7], response[8]);
    return false; //timeOut
  }

  return true;

}


//コマンドの送信
void sendCommand(byte command[], int length)
{
  //Serial.printf("command %x %x %x %x %x %x %x %x %x\n", command[0], command[1], command[2], command[3], command[4], command[5], command[6], command[7], command[8]);
  for( int i=0 ; i<length ; i++ )
    Serial1.write(command[i]);
}

//チェックサムの計算
byte calcCheckSum( byte data[] )
{
  byte checkSum = 0;

  for (int x = 1; x<MHZ19_DATA_LEN-1; x++)
  {
    checkSum += data[x];
  }
  checkSum = 255 - checkSum;
  checkSum++;

  return checkSum;
}

//センサから応答を受信する
bool recieveResponse( byte response[] )
{
  unsigned long timeStamp = millis();

  //返答の先頭の0xFFが来るのを待つ
  while(1){
    if( Serial1.available() )
    {
      byte res;
      Serial1.readBytes(&res, 1);
      if( res == 0xff )
        break;
    }
    if (millis() - timeStamp >= 2000)
    {
      Serial.println("0xFF wait Time Out");
      return false; //timeOut
    }

    //millisがオーバーフローしたらgetDataTimerをリセット
    if( timeStamp > millis() )
      timeStamp = millis();

  }

  //8バイトたまるのを待つ
  timeStamp = millis();
  while (Serial1.available() < MHZ19_DATA_LEN-1)
  {
    if (millis() - timeStamp >= 2000)
    {
      Serial.println("Recieve Time Out");
      return false; //timeOut
    }

    //millisがオーバーフローしたらgetDataTimerをリセット
    if( timeStamp > millis() )
      timeStamp = millis();
  }

  //データの読み出し
  response[0] = 0xff;
  Serial1.readBytes(&(response[1]), MHZ19_DATA_LEN-1);
  //Serial.printf("reaponse %x %x %x %x %x %x %x %x %x\n", response[0], response[1], response[2], response[3], response[4], response[5], response[6], response[7], response[8]);

  //チェックサムチェック
  if( response[8] != calcCheckSum( response ) )
  {
    Serial.printf("Check Sum Error read'%x' correct'%x'\n", response[8], calcCheckSum(response ) );
    Serial.printf("reaponse %x %x %x %x %x %x %x %x %x\n", response[0], response[1], response[2], response[3], response[4], response[5], response[6], response[7], response[8]);
    return false;
  }
  return true;
}
このプログラムの2箇所をご自宅の環境に合わせて変更します。
const char* WifiSSID = "SSID";
const char* WifiPassword = "PASSWORD";
SSIDとPASSOWRDをご自宅の無線LANの設定に変更します。
//Ambient
#include "Ambient.h"
const unsigned int WriteChannelId = XXXXX; // 送信用AmbientのチャネルID
const char* writeKey = "ライトキー"; // ライトキー
チャネルIDとライトキーをご自身のAmbientの設定に合わせて変更します。
以上で、1分毎にCO2の測定結果をAmbientに送信してくれます。
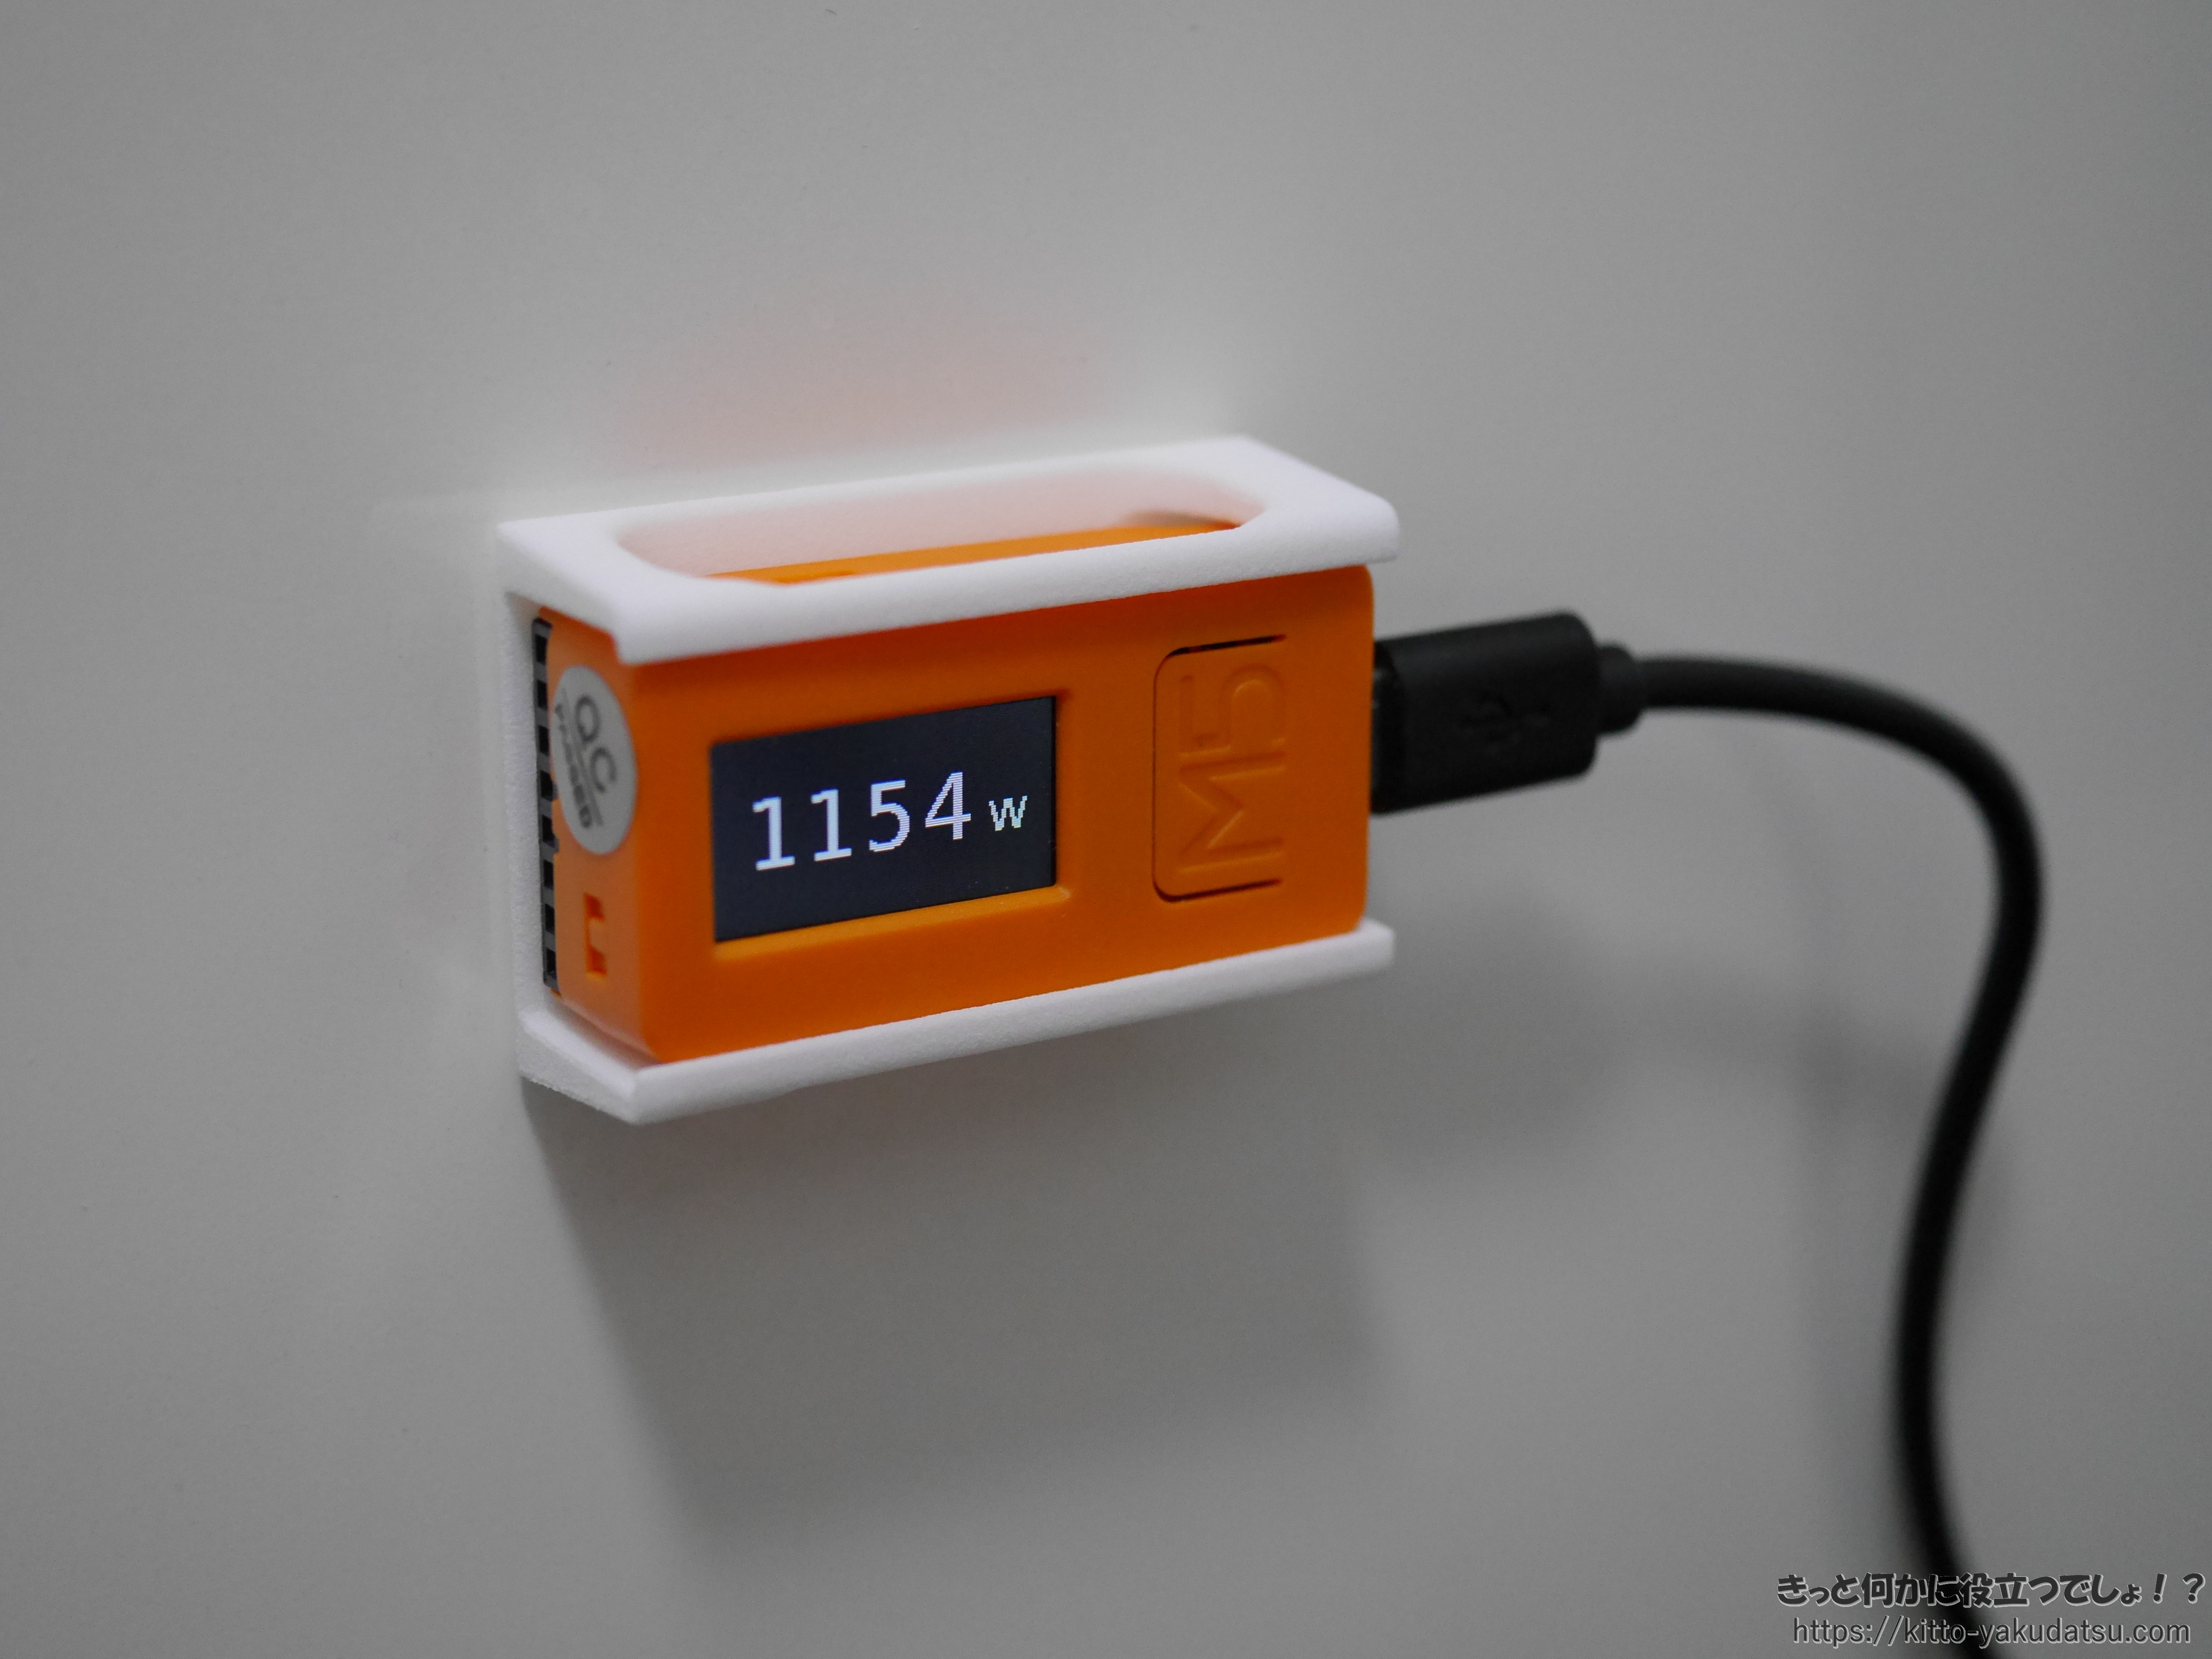
壁に設置
以前紹介したM5StickC用のホルダーを壁に画鋲で固定します。
これを3Dプリンタで印刷します。印刷時のパラメータなどはこちらの記事の中程をご覧ください。
これで、SPG30センサの隣に、MH-Z19センサが設置できました。これでしばらく測定し、Ambientにデータが蓄積されるのを待ちます。
測定結果
ある日の深夜から午後までのCO2の測定結果です。左がSGP30、右がMH-Z19のセンサです。同じ場所、同じ時間に測定しているのですが、大きく波形が異なります。
この後も、SGP30のセンサは値が6000とか10000とか異常に大きな値を計測しています。何かおかしいので、後で調べてみます。


コメント