


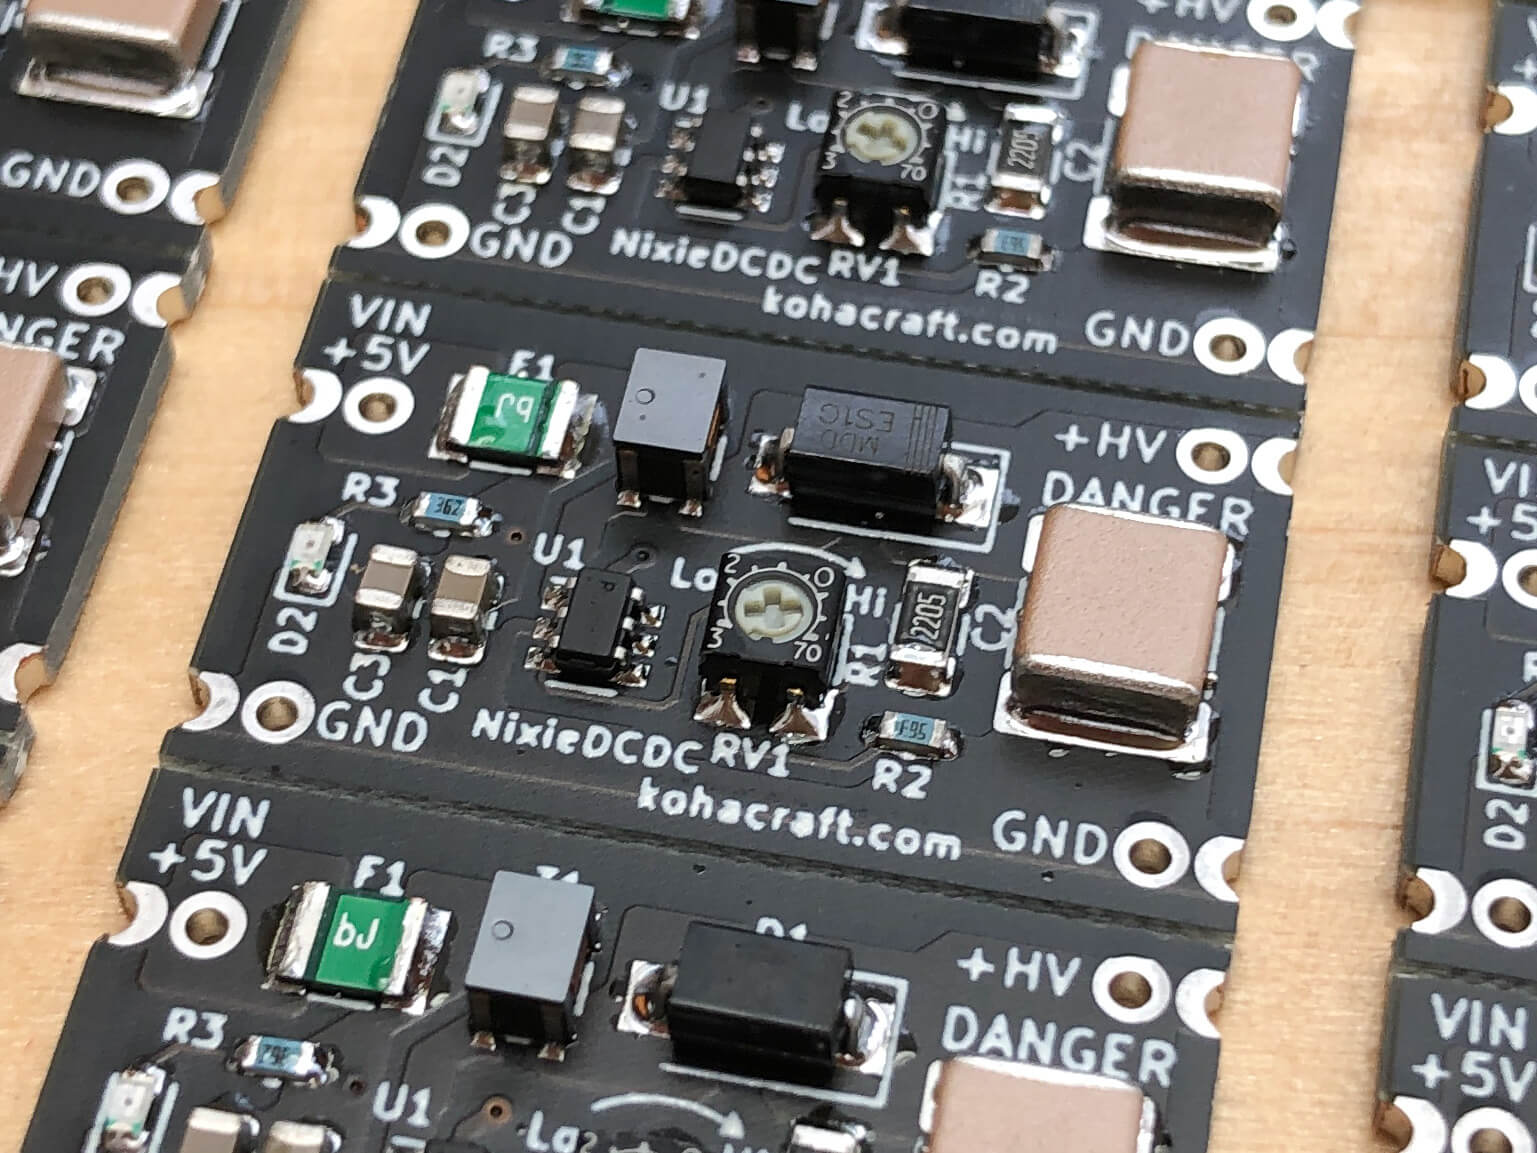
I recently mounted components on the PCB that arrived from Fusion PCB.

In this article, I would like to modify an alarm clock to incorporate its PCB and assemble an alarm clock-style Nixie tube clock.
Disassemble the alarm clock
Disassembly

First, remove the back of the alarm clock.

Next, remove the watch unit inside.
Modify the clock
Fixing the parts that strike the bell

Reuse the parts that strike the bell. Bend it like this...

Secure it with instant glue.

That's OK.
Put a ripple board

Stick the ripple board inside the alarm clock.

The purpose of this is to blacken the inside of the clock for a better look and to preserve the PCB.

I stuck it inside with double-sided tape.
Attach the legs and bell

Attach the legs. Make a hole through the inner ripple board...

Attach the legs and bell and replace.

The modification of the alarm clock has been completed.
Modify the back cover

Cut out the protrusions on the back cover with pliers.

Close a large hole that had knobs such as time adjustment. Stick the piece of the ripple board we used earlier on the back.

The big hole is closed and it looks better.
Embed the PCB

Place the PCB inside. Place the PCB on top of the section of the ripple board.

Secure the PCB and the clock with a glue gun.

Connect the USB cable and secure the back cover with a glue gun.
Done!!!

The Nixie tube clock in the style of an alarm clock was completed.

This time, it has a built-in GPS receiver, so you can get the time from GPS even when you are not connected to a wireless LAN, and when you are connected to a wireless LAN, you can synchronize the time from NTP.

I displayed it on my daughter's desk. Nixie tubes are great.


コメント